When I moved into my house I realized the sump pump check valve should be replaced. It was installed 3 feet above the pump, outside the pit and above the floor. This meant my pump was running more than it needed to. Check out our blog on sump pump check valves to learn more about them.
Join me in selecting a check valve and through the installation process. Having never done this before I learned some things along the way that will make it easier for you.
Selecting a check valve
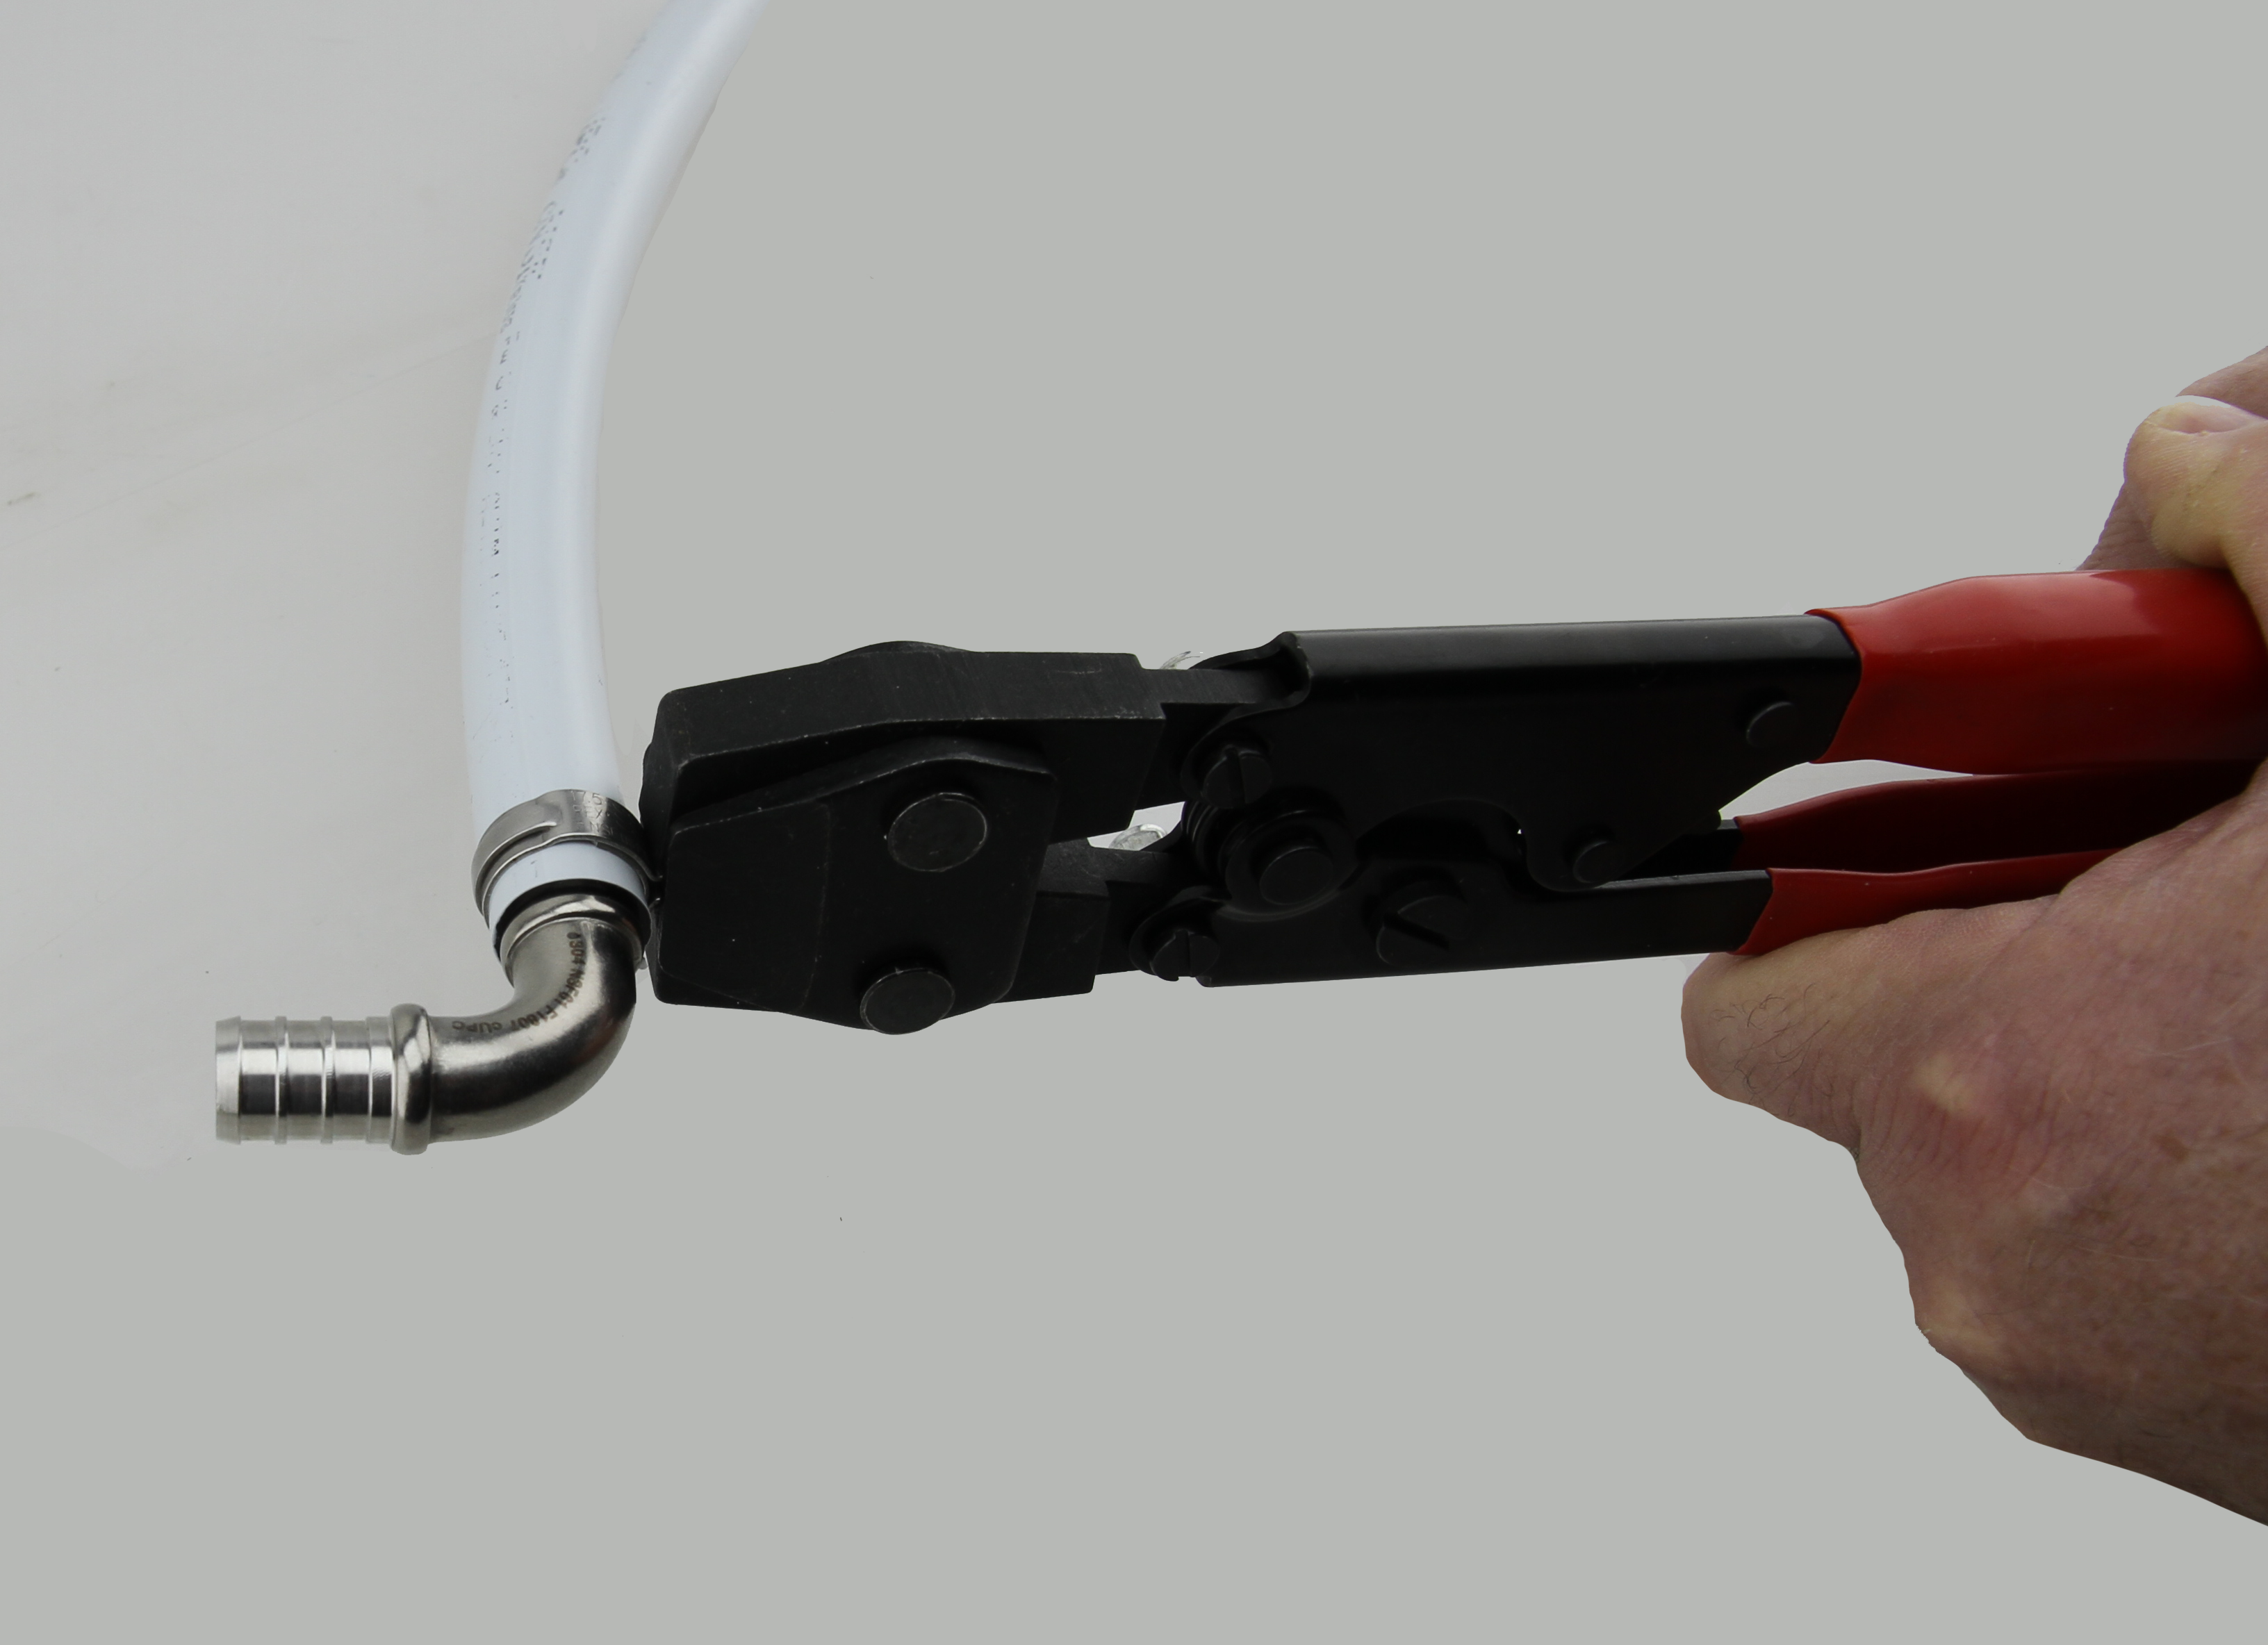
When making the decision on which sump pump check valve to get I looked at two different ones, Part A (left) and Part B (right). Part A uses compression connection and can be installed on either 1-1/4” or 1-1/2” pipe. Generally it is a more expensive option but doesn’t require any extra tools. Part B uses flexible boots, less expensive and requires a nut driver or screw driver to tighten the clamps around the pipe.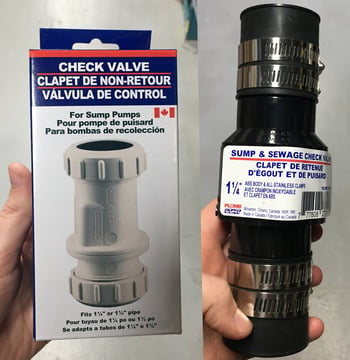
For my use I selected Part A because there were no extra tools required, and it was more compact than Part B, taking up a little less space in the piping. (It really comes down to preference.)
What I needed for the replacement
Sump pump check valve
Pipe - Since my old check valve was installed 3 feet up the sump pump, I decided to replace the whole pipe to cut back on the connections that could leak down the road.
Elbow – To make the 90° turn from the vertical discharge pipe to the horizontal pipe that passes through the wall to drain outside.
Saw – To cut the pipe to the correct length.
PVC cement – This is to glue the pipe into the elbow.
Screw driver – For removing the old check valve.
Steps that I took
- Drained the water from the pit.
Lifting the float so the sump pump turned on and pumped water out of the pit. - Disconnected the power to the pump.
- Cut the pipe at the elbow.
- Disconnected the old check valve and drained the water from the pipe.
 I cut the elbow first, which left the loose pipe full of water while disconnecting the check valve. I would recommend disconnecting the check valve and draining the water first to prevent water from spilling out the top of the pipe.
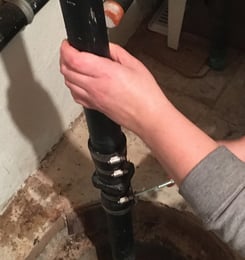
To drain the water, I used my hand to hold the flapper open and let the water drain down. - Removed the pump from the pit and cut the pipe to where the new check valve is being installed.
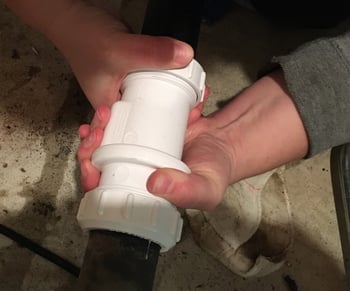
I cut just above the max water level in the pit before the pump starts, approximately 1 foot from pump. - Installed the check valve onto the pipe attached to the pump.
Since I chose the compression check valve, I made sure to put the compression nut on the pipe before the check valve body.
When completing this step, I made sure that the arrow dictating flow was pointed in the right direction. - Installed the new pipe into the top of the check valve.
- Put the pump back into the pit.
Make sure the float is not obstructed by the walls or anything else in the pit. - Positioned the upper pipe close to the discharge in the wall.
- Glued the elbow onto the horizontal discharge.
- Cut the vertical discharge pipe with about an inch more than the bottom of the elbow so it could be glued inside.
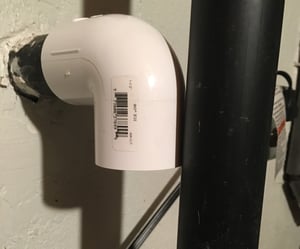
I should have glued it to the vertical discharge first as the pipe needed to be cut longer and inserted into the elbow. This was a challenge as the elbow was already glued in place. - Glued the vertical pipe to the elbow completing the discharge piping.
- Filled the pit to test my work.
I noticed that there was a tiny leak and had to tighten the compression connections on the check valve. - Taped the cords to the discharge pipe.
I taped them to the side but should have taped them to the back so there was no interference with the cover on top of the pit.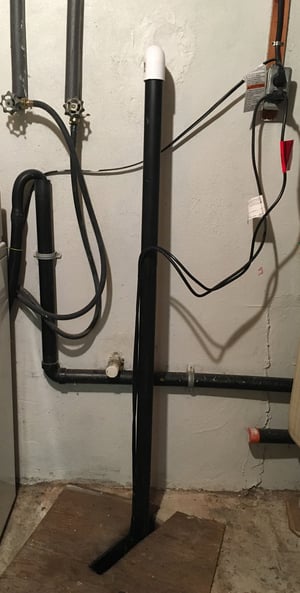
Replacing a sump pump check valve turned out to be less stressful than I expected. There were definitely moments where I realized after the fact there was a better way of doing it, but it worked out in the end. I really hope that my experience replacing my sump pump check valve helps you replace yours. If I can do it so can you! That being said, if you’re not comfortable don’t be afraid to ask for help!
.png)
SHARE